How To Install IPTV On PC
Want to stream live TV and movies on your PC? This guide shows you how to install IPTV on PC step by step. Follow along to set up IPTV quickly and start watching in minutes.
How To Install IPTV On PC
1.How To Install IPTV on MyIPTV Player
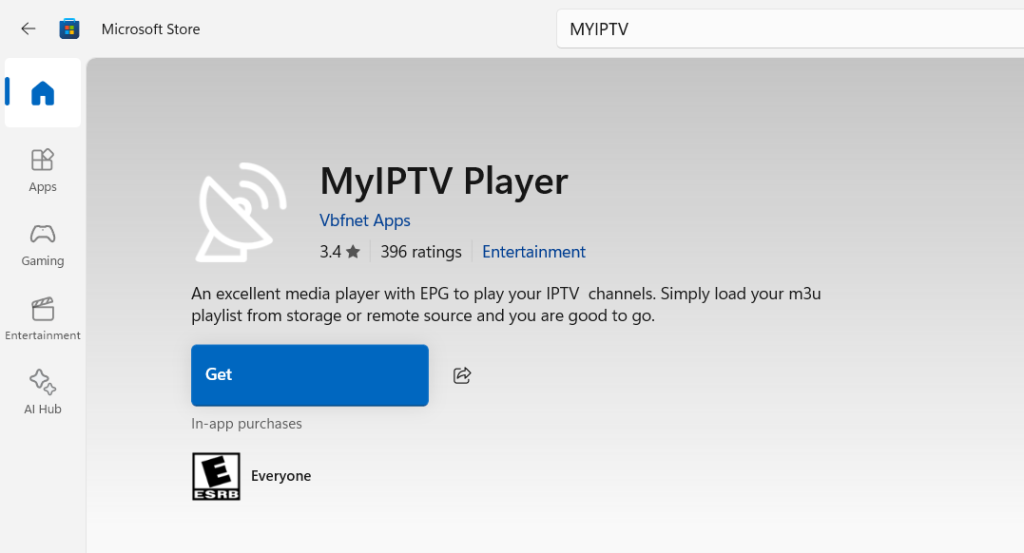
To get started, use a Windows 8 or 10 PC and open the Microsoft Store by pressing the Windows key and typing “store.” In the store, search for MYIPTV Player, click on it from the dropdown, and then select GET to download and install the app.
Note: If you’re prompted to sign in, click “Don’t sign in” to skip the login and move on quickly.
Now once the app is installed you can click launch or use the search bar at the bottom of the screen and type in MyIPTV Player to see the app and click on it to open it
Once you have opened the app you will be met with this ugly screen, eww yuk we know but we are going to get this all set up now.
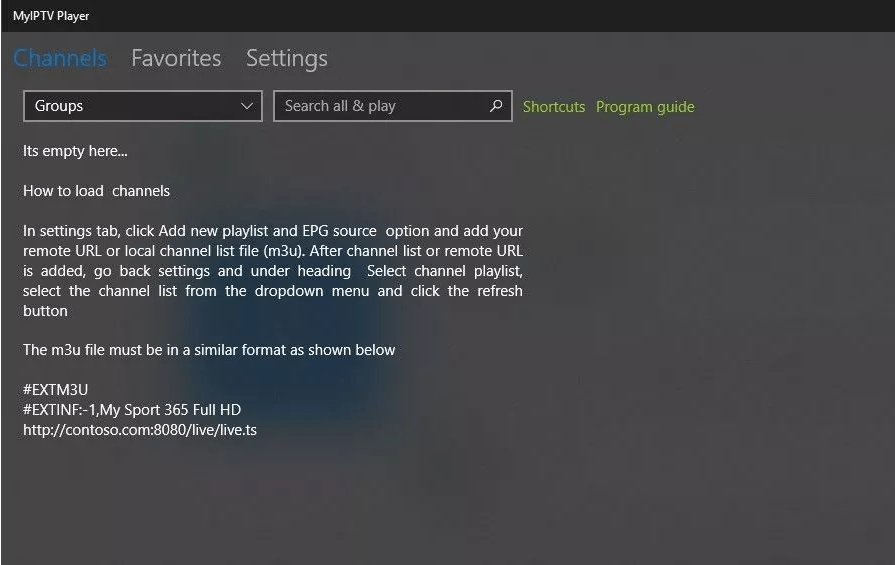
Go to Settings, then select Add new playlist and EPG source. Under Remote channel list, enter a name like IPTV SCOPE in the name box. (or anything you want)
In the Enter Remote Source field, paste the M3U link we provide after your subscription. Make sure to use your unique link—using the wrong one will prevent your IPTV from loading properly.
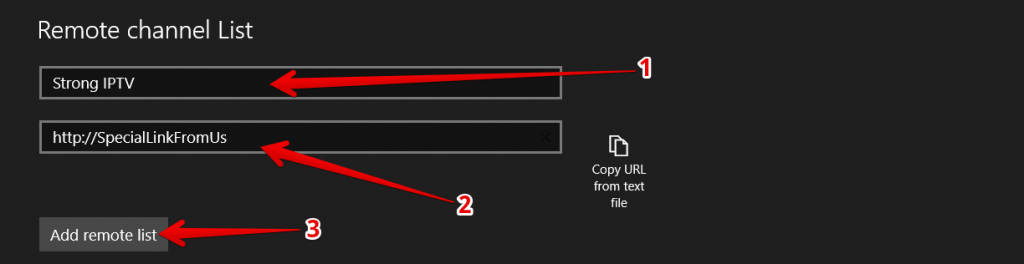
Press Add EPG source and wait for the confirmation message. Then, tap the back button at the top left. Finally, click Refresh and wait about 20 seconds for it to update.
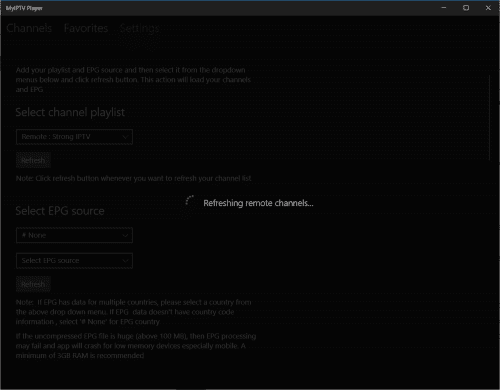
Under Select EPG source, keep the top setting as # None. Then, click the option below and choose EPG: IPTV SCOPE (or your chosen name).

Click Refresh and watch the messages appear: “Initializing,” “Downloading EPG… 100%,” “Parsing EPG,” and “Updating database.” This process usually completes within seconds.
After pressing Refresh, click Channels at the top. From the dropdown labeled #Undefined, select the country you want to watch channels from, like the UK.
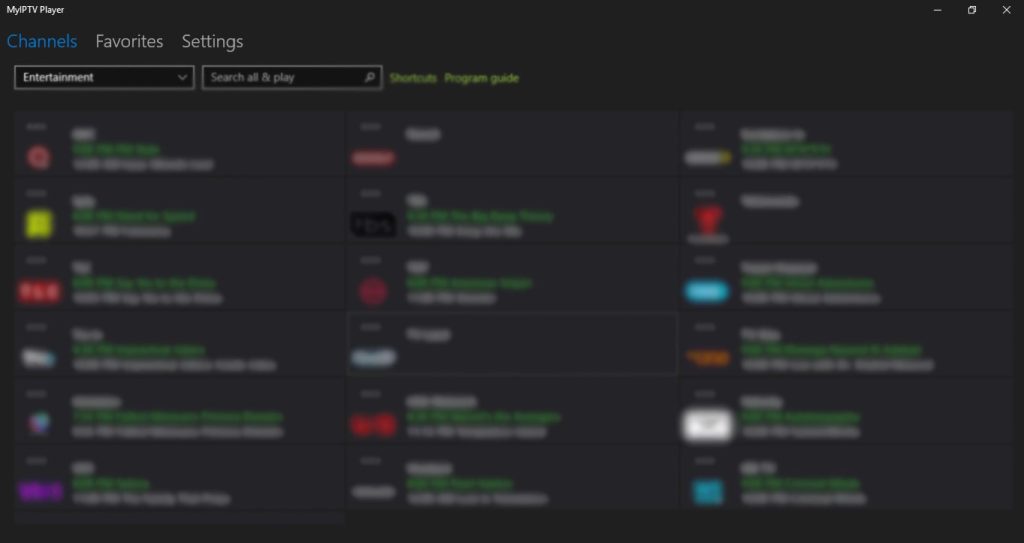
Don’t worry about the blurred channel names — just double-click a channel to start watching. Congrats, you’re all set! Feel free to share this guide with friends wanting to install IPTV on their PC.
But we’re not done yet! If you want to learn how to install IPTV on VLC player, keep reading below.
2.How To Install IPTV On VLC Media Player
First, if you don’t have VLC media player, download it from HERE
If you’re not familiar with VLC player, it’s a top open-source multimedia player that supports almost any media format—including IPTV channels—and is widely regarded as the best media player for Windows.
After installing VLC, find the orange-and-white traffic cone icon on your desktop and double-click it, or press the Windows key, type VLC Media Player, and open the app.
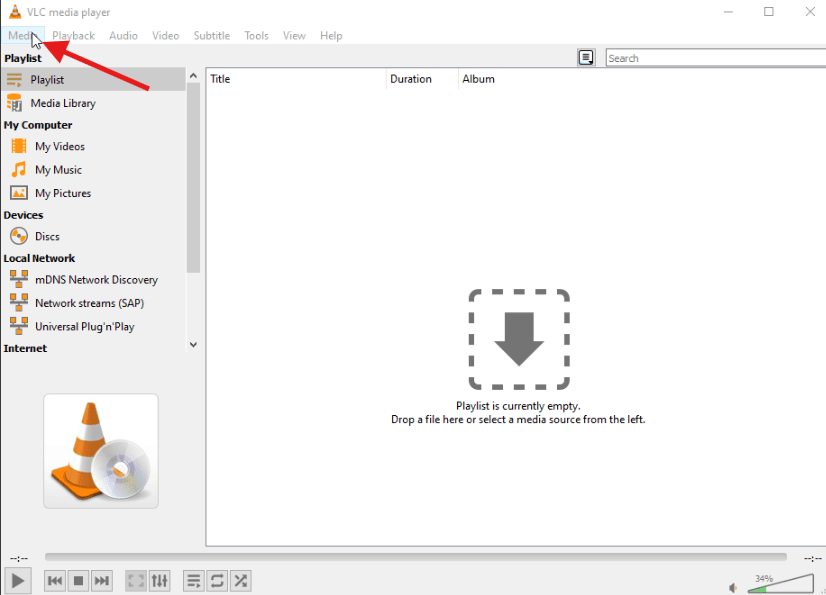
With VLC open, click Media at the top, then select Open Network Stream.
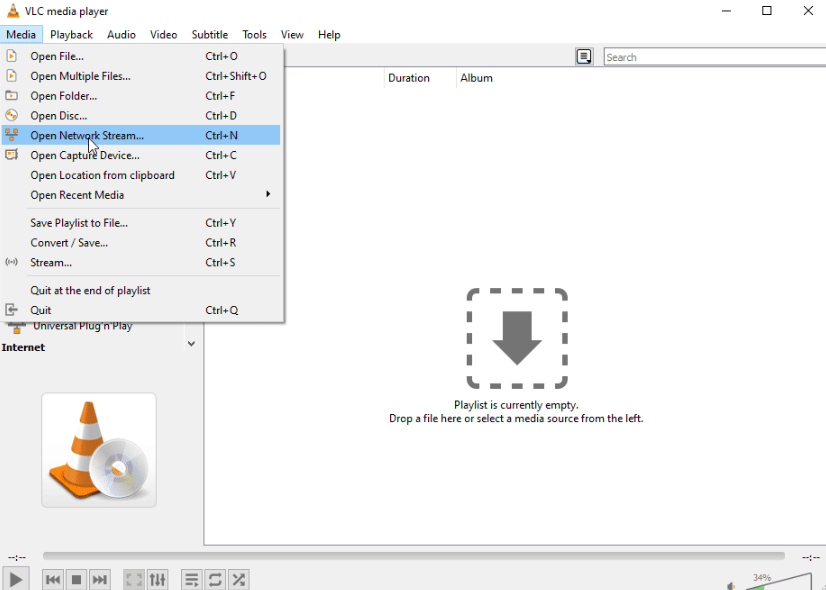
When prompted to enter a network URL, type the link we email you after your subscription—like this example http://SpecialVlcLink
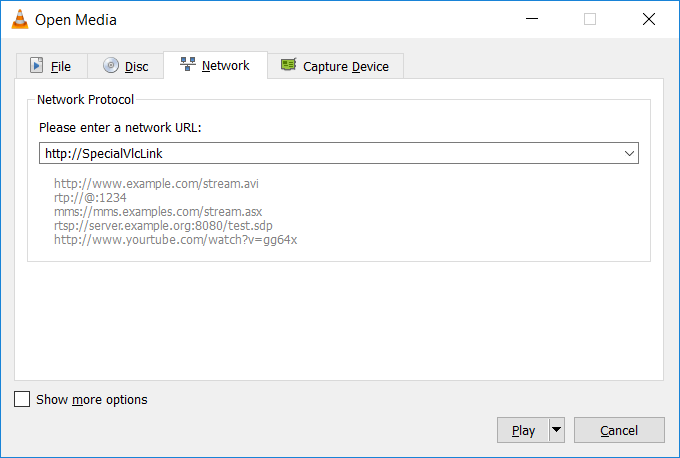
After entering your special M3U link, click Play. The program may seem unresponsive and the loading circle might spin, but be patient—it can take up to one minute to load all channels.
This delay happens because IPTVScope offers over 30,000 high-quality channels, and it may take up to a minute to load them all on your first launch.
Once the channels load and playback starts, click the hamburger menu in the bottom-left corner to open the search bar. From there, type the name of the channel you want to watch.
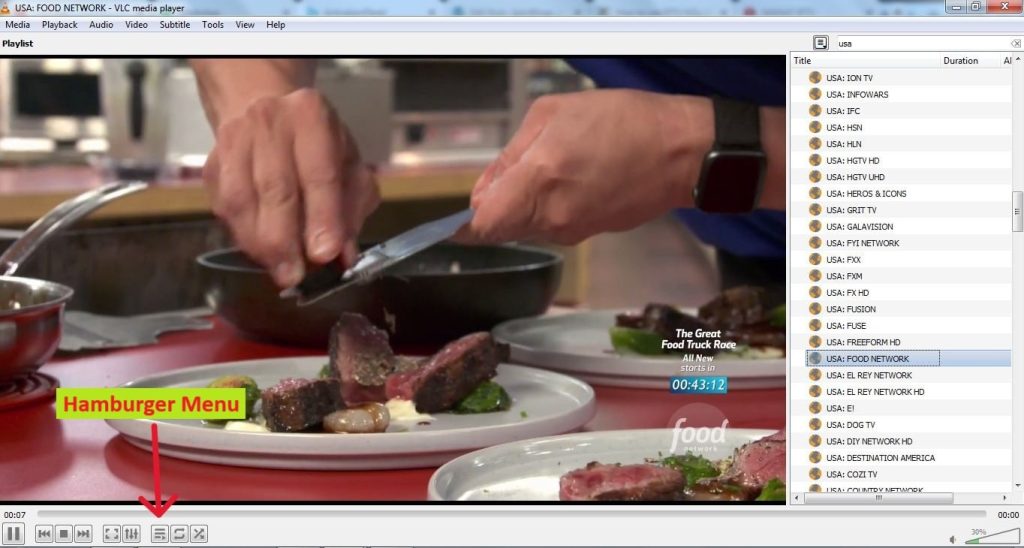
Once you open the hamburger menu, you’ll see a full channel list. To quickly find channels, type your two-letter country code followed by a colon in the search box—like UK:, US:, FR:, or CA:.
Typing a country code filters the list to show channels from that region, or you can search by full channel name. Click any channel to start watching.
That wraps up the VLC setup—if it helped, feel free to share this guide! Next, we’ll cover the most technical way to use IPTV on your PC for advanced users.
3.How to install IPTV on BlueStacks Android Emulator
If MyIPTV Player isn’t your thing, you can use an Android emulator like BlueStacks to run IPTV apps such as Smart IPTV or Perfect Player IPTV on your PC.
BlueStacks is a popular Windows program that emulates an Android device, letting you run Android apps in a window on your computer. It’s widely considered the best Android emulator for PC.

BlueStacks essentially turns your Windows PC into a fast, Android-like tablet. It’s perfect for testing and exploring Android apps, and the Bluestacks team has done a great job making it smooth and reliable.
If you don’t have BlueStacks, visit the official website to download and install it. Once installed, open the program—you’ll see the main screen after launch.
Note: BlueStacks may take 1–2 minutes to start the first time you open it.
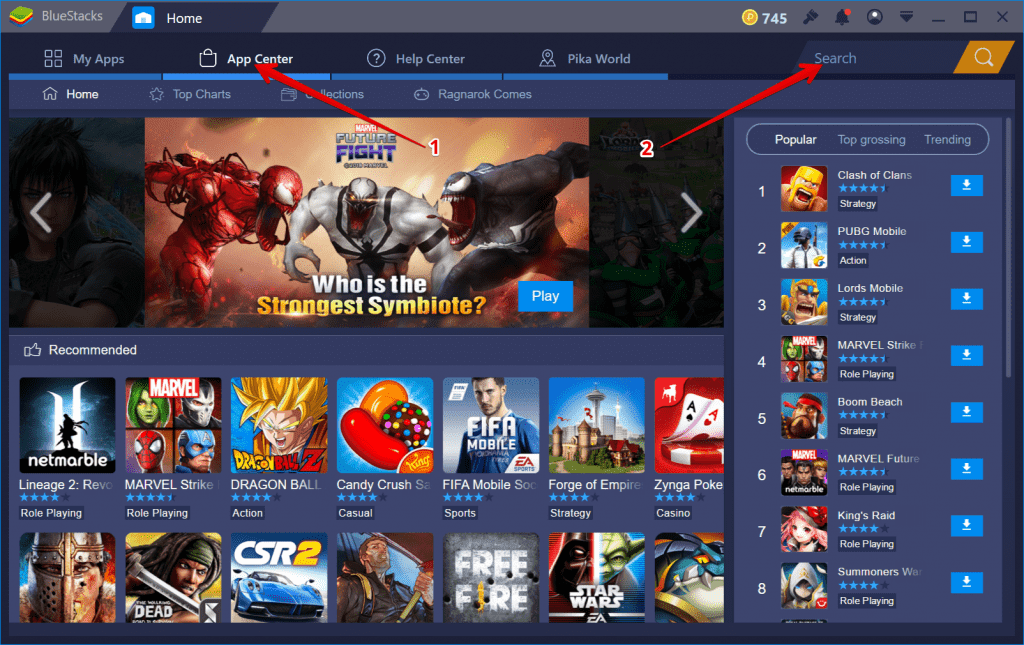
After BlueStacks opens, click on App Center and search for your preferred IPTV app—just like you would on an Android device. For detailed steps, check out the two guides below, as the process is the same for both Android and BlueStacks.
If you know how to install APK files in BlueStacks, you can download the Smart IPTV APK and add it directly to the emulator—or even install it on a real Android device like a TV box, tablet, or smartphone.
Looking to install IPTV on PC for easy access to live TV and movies? Need more help with IPTV setup? Check out the full library of guides at IPTVHelpCenter.com.
You can get your 24h free IPTV trial.
Get Your free IPTV trial now!
Try our IPTV service Free for 24 hours by filling out the trial form available here.